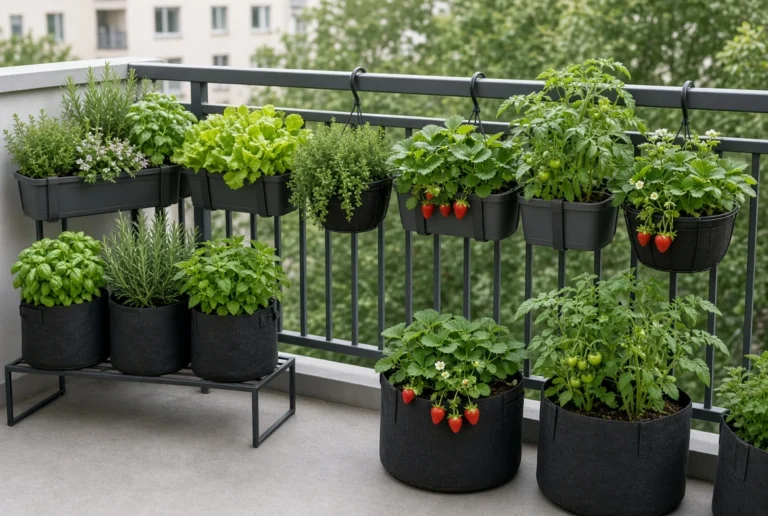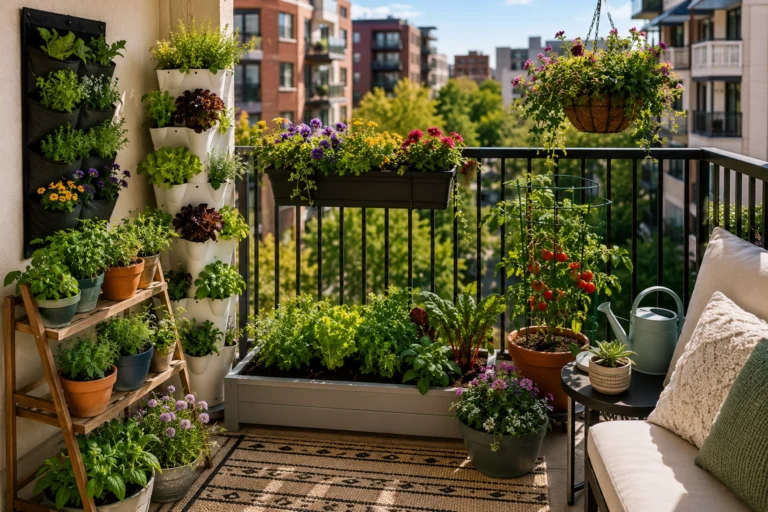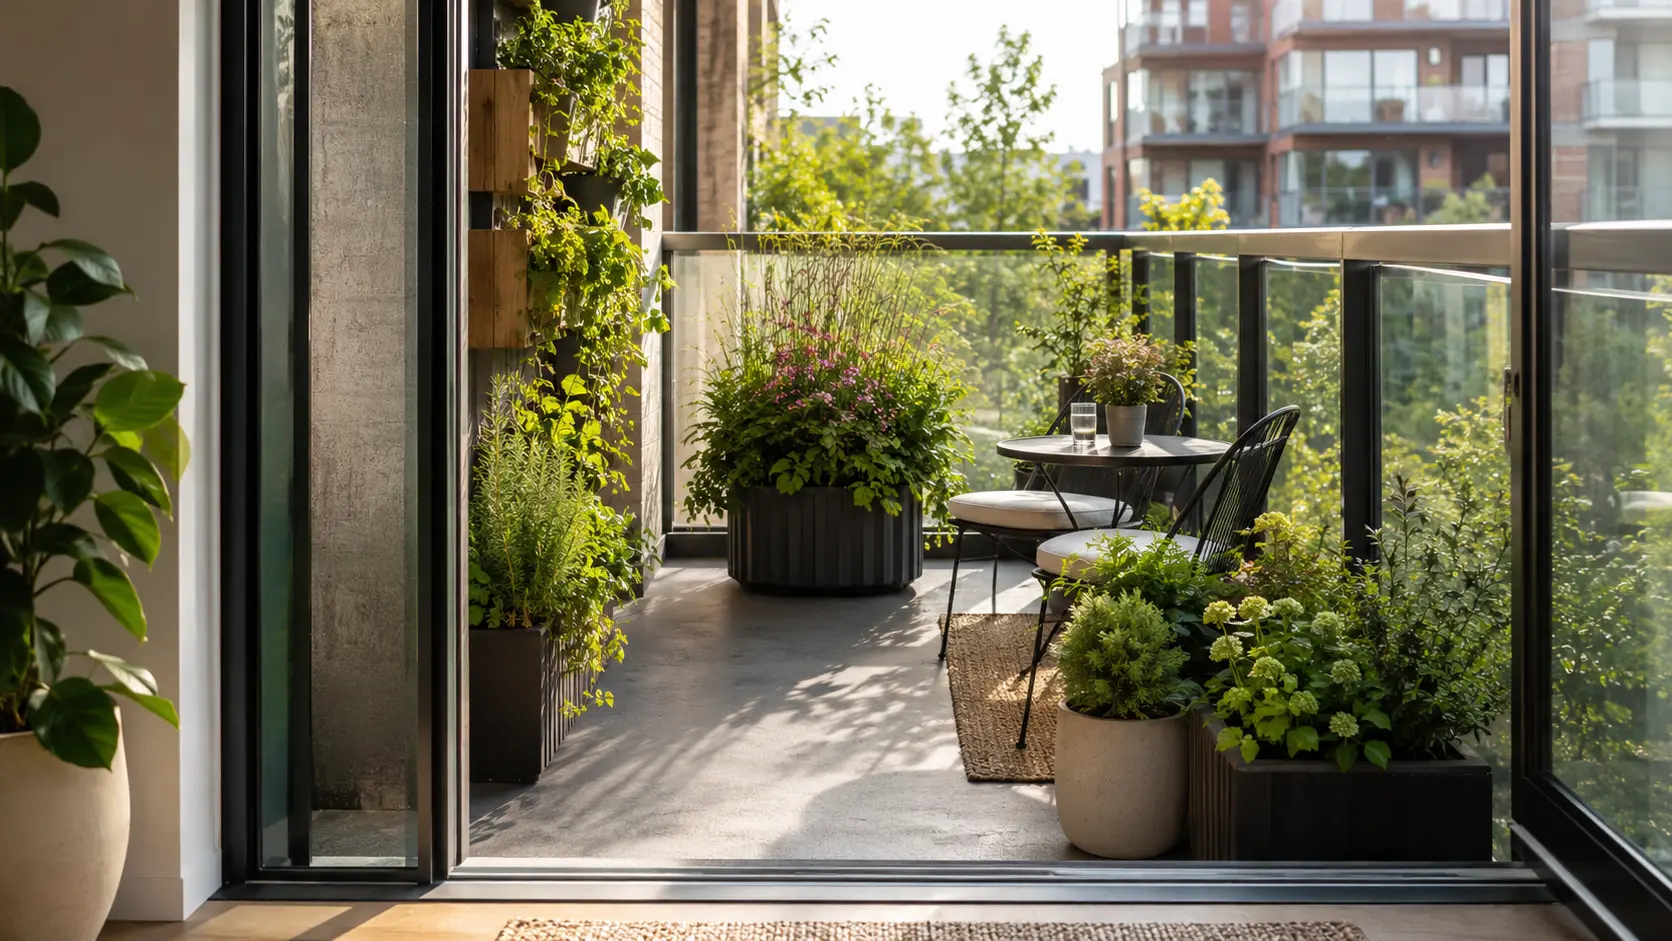
Balcony Garden Design: A Step-by-Step Guide
A small balcony can hold a surprising amount of greenery, but fitting in more plants is not always the same as creating a better garden. When every corner is occupied by a pot, shelf, chair, or trellis, the balcony can quickly become difficult to walk through, water, clean, or simply enjoy.
Good balcony garden design starts before you buy the plants.
First, look at the space itself: its dimensions, doors, sunlight, exposed areas, and the way you want to use it. From there, you can decide where the largest pieces belong, how much open space to keep, and where plants can grow without getting in the way.
This guide walks you through that process from the first sketch to the finished layout.
If you still need to evaluate sunlight, wind, containers, drainage, and the basic growing conditions on your balcony, start with our apartment balcony gardening guide.
In This Guide
Before You Design, Check the Rules and Limitations
If you rent or live in a managed building, check your lease and building rules before installing permanent attachments, hanging systems, railing-mounted containers, screens, or trellises. RHS guidance for renters likewise recommends getting the property owner’s permission before attaching anything to a wall or fence.
Weight deserves attention too. A large container may be easy to move when it is empty but become much heavier after it is filled with growing mix, plants, and water.
Because balcony construction and load capacity vary by building, do not apply a generic internet weight limit to your balcony. The RHS also recommends considering balcony weight and structural capacity when planning containers and obtaining appropriate structural advice when support is uncertain.
You should also make sure the design does not interfere with doors, required exits, drains, building equipment, or other areas that need to remain accessible.
Once you know the limits, you can design within them instead of discovering a problem after everything is in place.
Step 1: Measure and Sketch Your Balcony
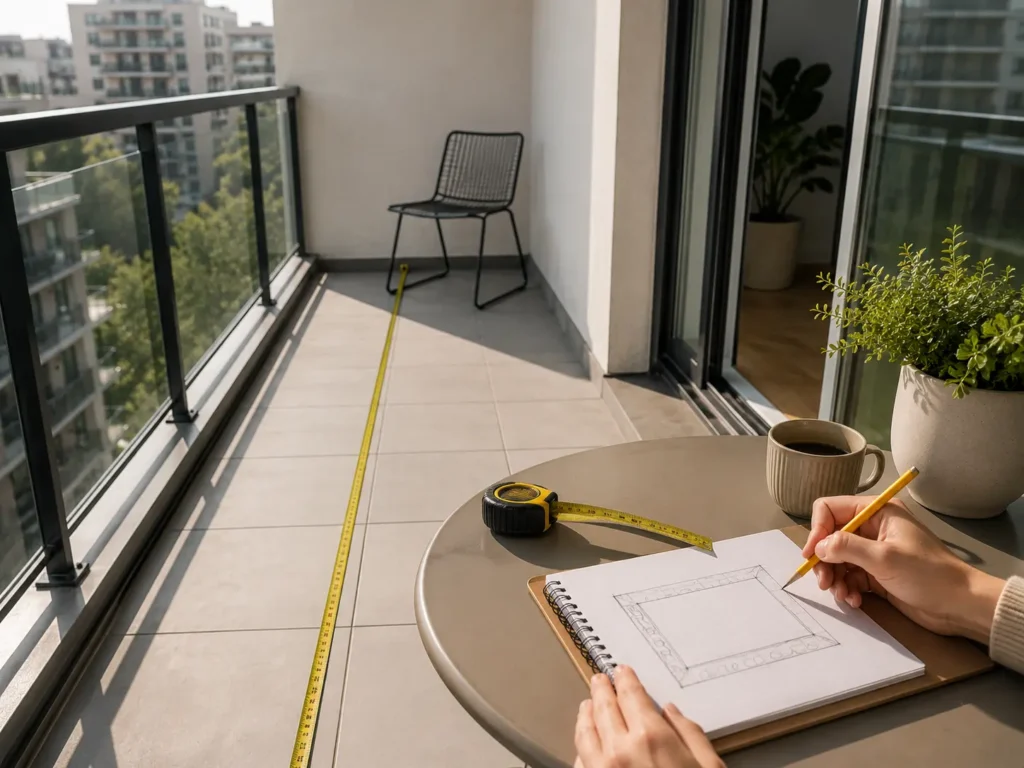
You do not need design software or an architectural drawing. A tape measure, pencil, and piece of paper are enough.
Start with the overall width and depth of the balcony. Then mark the features that reduce or affect the usable area, such as:
- the balcony door
- space needed to open and use the door
- railings and solid walls
- drains
- utility fixtures
- permanent structures
- furniture that will remain
Oklahoma State University Extension recommends beginning landscape planning by recording the existing features of a site before deciding how the finished space should look.
The purpose of the sketch is not to create a perfect drawing. It is to give you a simple view of the entire balcony before individual plants and containers begin competing for space.
Balcony Garden Design Worksheet
Use these measurements and observations to build your sketch:
Balcony width: _______
Balcony depth: _______
Door location: _______
Permanent features: _______
Sunniest area: _______
Shadiest area: _______
Most exposed or windy area: _______
Main walking or access area: _______
Desired seating area: _______
Possible locations for large containers: _______
Possible vertical-growing area: _______
Main view from inside the apartment: _______
Draw the outline of the balcony first and add the permanent features. Leave individual plants out for now.
At this stage, you are mapping the space, not decorating it.
Step 2: Map Sun, Wind, and Other Growing Conditions
Now add the balcony’s growing conditions to your sketch.
Mark the areas that receive the strongest direct sunlight and those that stay shaded for much of the day. If one corner gets intense afternoon sun while another is protected by the building, make a note of that difference.
Do the same with exposure. One end of a balcony may receive considerably more wind than a section protected by a wall or neighboring structure.
Also watch for areas that become noticeably hotter than the rest of the balcony. Nearby masonry, concrete, metal, and other heat-absorbing or reflective surfaces can create hotter conditions around container plants.
You do not need to choose plants yet. The purpose is to identify the conditions available in different parts of the balcony.
Later, plant placement should follow those conditions rather than forcing a plant into a location simply because the container looks good there.
Step 3: Decide What You Want the Balcony to Do
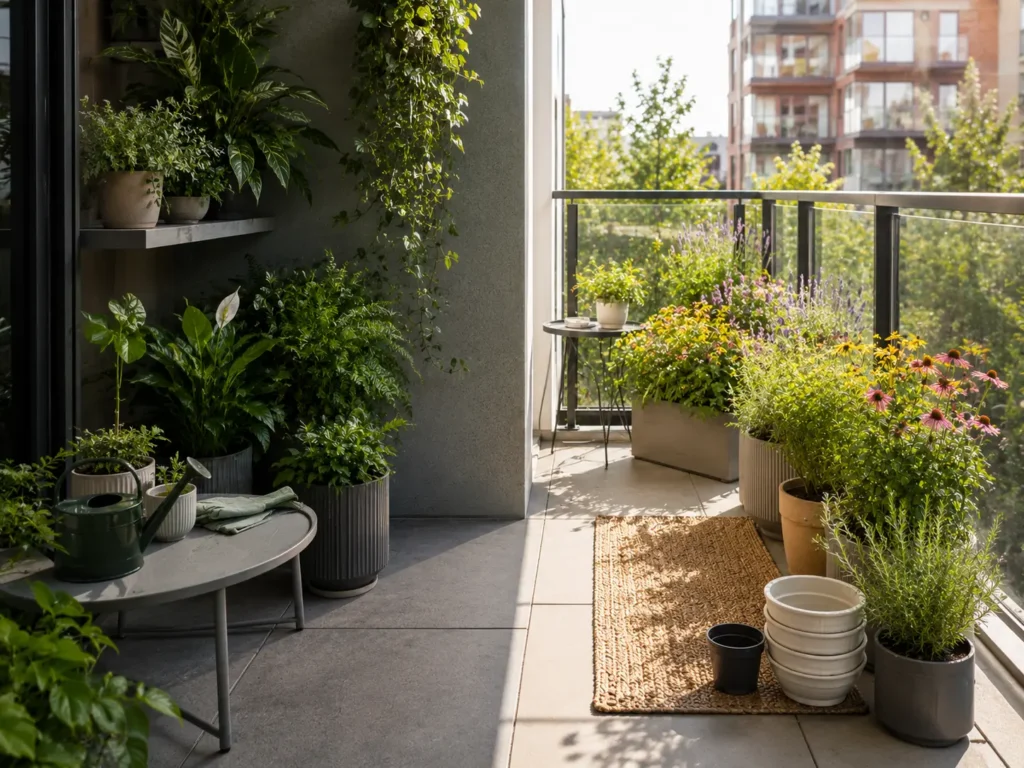
A balcony garden works better when you decide what the space is for before filling it.
Your priority might be:
- growing as many plants as practical
- gardening while keeping room for seating
- growing herbs or vegetables
- creating more privacy
- building a relaxing outdoor space
- improving the view from inside the apartment
- combining several of these uses
This is where the realities of a small balcony become helpful rather than limiting. They force you to decide what matters most.
For example, if you want comfortable seating for two, reserve that space now. Do not cover the floor with containers and then try to squeeze two chairs into whatever remains.
On the other hand, if gardening is the main purpose of the balcony, a large table may not deserve much of the available space.
There is no single correct arrangement. The right layout is the one that supports how you actually plan to use the balcony.
Step 4: Divide the Balcony Into Functional Zones
Once the priorities are clear, divide your sketch into a few rough areas.
A simple balcony might include three.
Growing Zone
This is where most of the containers and garden structures will be concentrated.
Seating or Living Zone
This could hold a chair, a small table, a bench, or simply enough open room to spend time outdoors.
Movement and Access Zone
This is the space you need to enter the balcony, move around, reach plants, and access anything that needs to remain clear.
These zones do not need sharp boundaries.
On a small balcony, they may overlap. A chair can sit next to a group of containers, and movable pieces can allow the space to change when needed.
What matters is recognizing that movement and access require space too. They should be planned from the beginning rather than treated as whatever happens to be left over.
Step 5: Leave Some Space Open
“Use every inch” is common advice for small spaces, but it is not always good design advice.
A balcony can be completely full and still function poorly.
Open space may be needed to:
- walk between containers
- open the balcony door
- sit comfortably
- reach plants for watering
- move a container
- clean the balcony
- keep the garden from feeling crowded
Established landscape-design principles recognize empty space as part of the overall design, rather than treating every open area as something that needs to be filled.
You do not need a formula that says a certain percentage of the floor must remain empty. Balconies vary too much for a rule like that to be useful.
Instead, look at your sketch and ask a practical question:
Can I still use this balcony comfortably after everything on the plan is added?
If the answer is no, removing something may improve the design more than finding another way to squeeze it in.
On a small balcony, empty space is not wasted space.
Step 6: Place the Largest Elements First
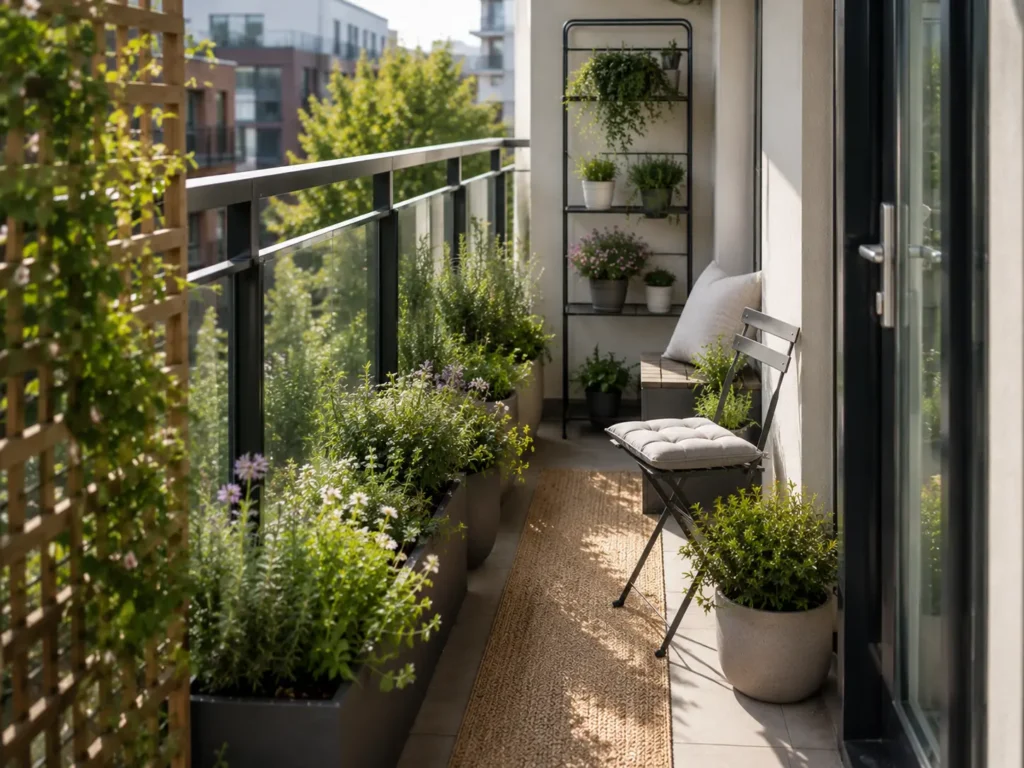
With your basic zones established, start adding the largest pieces to the sketch.
Depending on the balcony, these might include:
- chairs
- a table
- a bench
- large containers
- a freestanding planter
- a vertical growing structure
Place these before the smaller pots.
A collection of small containers can usually be rearranged later. A wide chair, large planter, or substantial garden structure has far less flexibility.
Mark the approximate footprint of each large item and check the walking area again.
If the balcony already looks crowded at this stage, it will not feel less crowded after another dozen containers are added.
Pay particular attention to furniture. A chair or table that appears compact in a store can occupy a large percentage of a narrow balcony once you also account for the room needed to sit down and move around it.
Choose the pieces that support the way you want to use the space, rather than letting the furniture determine what is left for the garden.
Step 7: Use Vertical Space Strategically
Vertical growing can free up valuable floor space, but more vertical planting is not automatically better.
Think of trellises, shelves, and vertical planters as part of the overall layout rather than additions you squeeze in afterward.
A vertical element can affect:
- sunlight
- nearby plants
- access
- wind exposure
- the view
- privacy
- the feeling of openness
For example, a tall planter might work well along one side of a balcony but create unwanted shade if placed in front of sun-loving containers. A trellis might provide useful privacy while also blocking a view you would rather keep.
Consider what happens around the structure as well as what grows on it.
Any vertical feature also needs to be appropriate for the balcony and properly supported. Do not assume you can drill into walls, attach structures to railings, or install other permanent supports without permission and appropriate support. RHS guidance likewise recommends making sure trellis and screen fixings are properly supported.
The best use of vertical space solves a layout problem without creating another one.
Step 8: Arrange Containers and Plants by Mature Size
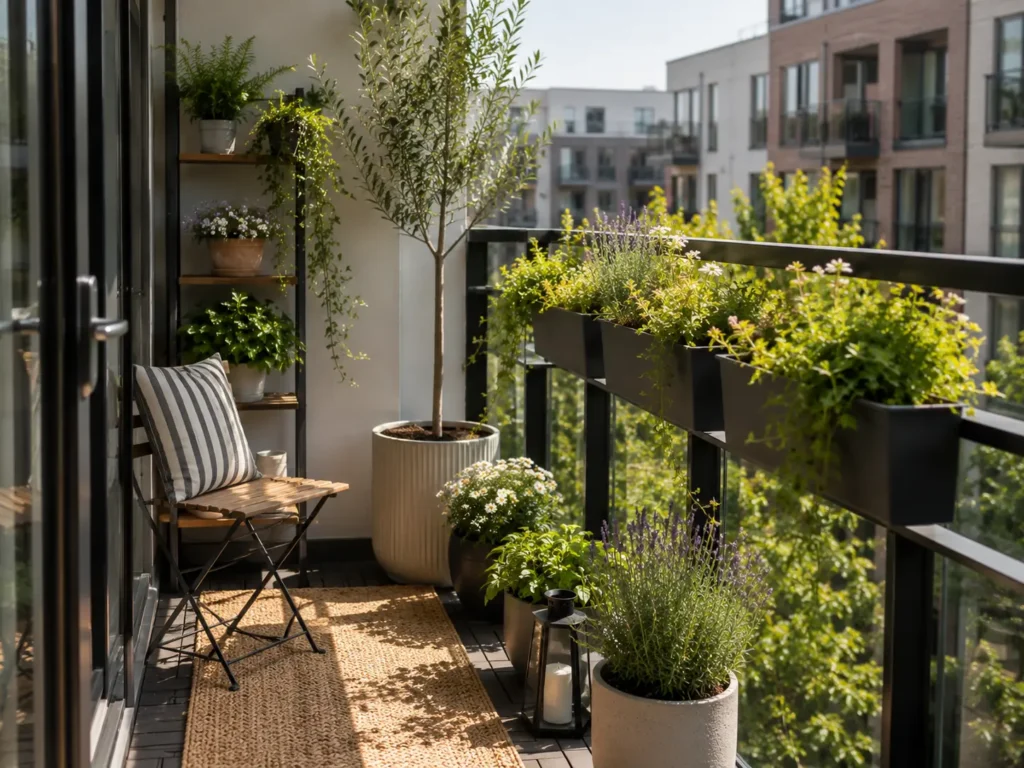
One of the easiest mistakes to make is designing around the size of a plant when you buy it.
A young nursery plant may eventually occupy far more space than it does when you bring it home.
Before assigning a permanent location, consider:
- mature height
- mature spread
- container footprint
- growth habit
- whether the plant trails, climbs, mounds, or stays upright
Considering mature height and spread before placement helps keep the scale of plants appropriate for the available space.
Think about scale as well.
One substantial container can look right at home in a certain location while overwhelming a narrow walkway somewhere else. At the other extreme, dozens of tiny pots can make a balcony look busier than expected.
Grouping some containers can help. A few pots with related proportions, materials, or plants often look more deliberate than unrelated containers scattered across every available surface.
If you have not chosen your plants yet, our guide to the best balcony plants compares options for full sun, part shade, and shade, along with useful size and container considerations.
Plan for the plant you expect to have later, not just the one you are carrying home today.
Step 9: Make the Garden Easy to Maintain
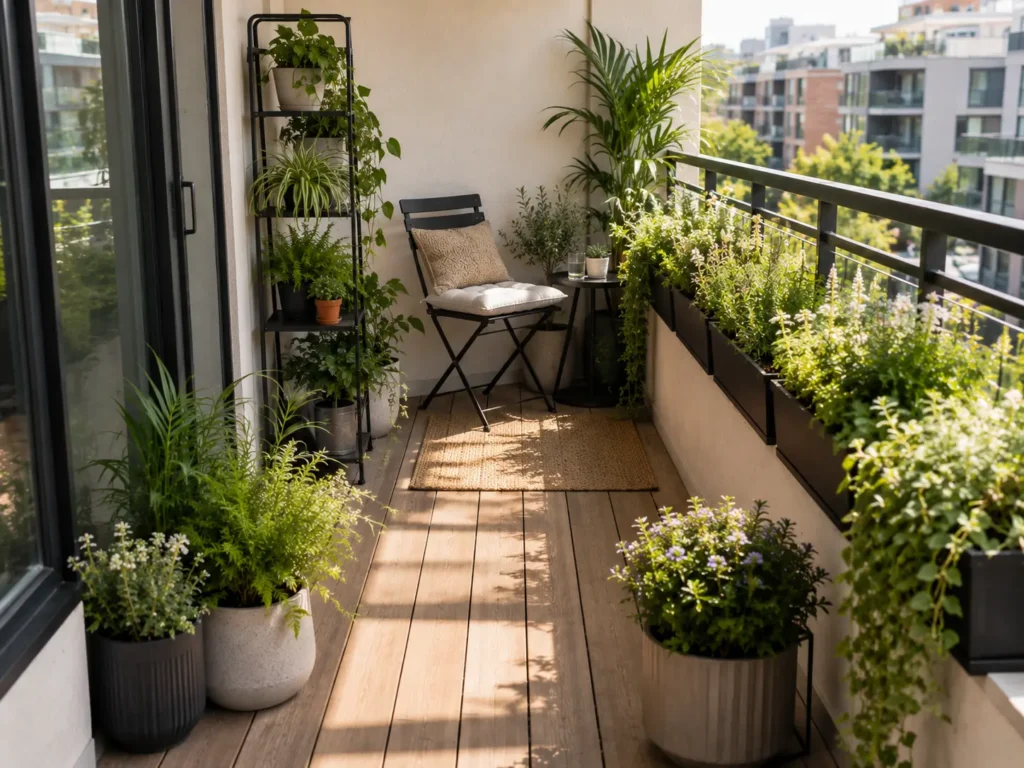
A layout can look excellent on the first day and become frustrating once regular plant care begins.
Before finalizing the placement of your containers, check whether you can actually reach them.
Ask yourself:
- Can I water every container easily?
- Can I inspect the plants?
- Can I trim or remove damaged growth?
- Can I reach saucers or drainage areas?
- Will furniture need to be moved every time I water?
- Can a container be moved if necessary?
Pay attention to drainage too.
A container may fit neatly in a particular corner, but excess water still needs somewhere to go. Consider whether drainage could stain the balcony surface or create problems for the space below.
If routine care requires a complicated rearrangement every few days, the location probably needs another look.
A practical layout should make maintenance easier, not turn it into an obstacle course.
Step 10: Balance Privacy With Light and Views
You do not necessarily need to surround the entire balcony with tall plants or screens to create privacy.
Start by identifying exactly where the unwanted view comes from.
Sit or stand where you normally spend time and look toward the area you want to screen. Landscape-planning guidance recommends identifying desirable and undesirable views and using planting or other elements to screen undesirable views and create privacy where needed.
You may find that one carefully positioned grouping or vertical element provides enough coverage.
A more targeted screen may preserve more light and openness than enclosing the entire balcony.
Dense screening can change the amount of sunlight reaching plants behind it, while a tall object placed in the wrong spot may block a view you wanted to keep.
The same planning works in reverse. If your balcony overlooks trees, a courtyard, skyline, or another attractive feature, try not to cover that sightline unnecessarily.
Privacy is often more effective when it is targeted rather than treated as a reason to enclose the entire balcony.
Step 11: Make the Balcony Look Intentional
Once the layout works, take a second look at how everything fits together visually.
You do not need formal design training. Established principles used to organize landscape design include concepts such as scale, balance, rhythm, emphasis, simplicity, and transition.
For a small balcony, a few of those principles are especially useful.
Pay Attention to Scale
Look at the relationship between the balcony, furniture, containers, and plants.
Not everything needs to be miniature simply because the balcony is small, but large pieces should earn the space they occupy.
A substantial container can make an excellent focal point. Three substantial containers squeezed into a narrow walkway may be another story.
Repeat a Few Elements
Repetition helps separate an intentional collection from a random collection.
You might repeat:
- container material
- pot shape
- finish
- foliage color
- one plant in several locations
Nothing needs to match perfectly. A small amount of repetition is often enough to connect the different parts of the garden.
Keep the Palette Under Control
Small spaces can become visually busy quickly.
If every pot uses a different material, shape, finish, and color, the containers themselves may begin competing with the plants.
Choose a few elements you like and repeat them rather than introducing something completely different every time you add another pot.
This still leaves plenty of room for variety without making the balcony look cluttered.
Give the Eye Somewhere to Land
One stronger focal point can help organize the rest of the space.
That could be:
- a larger flowering container
- an interesting foliage plant
- a vertical planting
- a carefully arranged container group
- an attractive view beyond the balcony
The focal point does not need to be dramatic. It simply gives the eye somewhere to settle instead of asking every item on the balcony to compete for attention.
Step 12: Look at the Balcony From Inside
Before deciding the design is finished, go back inside the apartment.
Look at the balcony from the place where you see it most often. That may be the living room sofa, kitchen, bedroom, sliding door, or nearby window.
What catches your eye first?
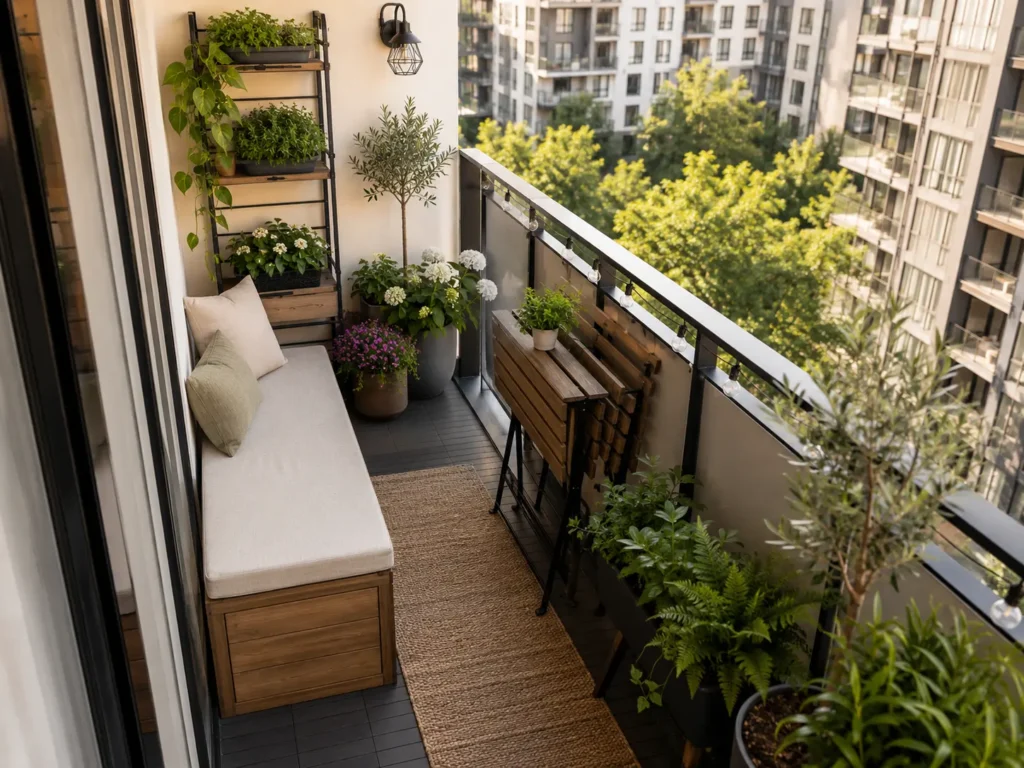
A container grouping that looks excellent from outside may barely be visible from indoors. A large planter may unexpectedly block the best part of the view. You may even discover that the back of a shelf has become the most noticeable feature from your living room.
Landscape-design planning also recommends considering important views from inside the home when deciding how outdoor elements should be positioned.
You will probably spend more hours seeing the garden through the door or window than sitting beside it.
A small adjustment in plant or container placement can sometimes improve that everyday view without changing the way the garden functions.
Designing a balcony from both sides of the glass is easy to overlook, but it can make the finished space much more enjoyable.
Step 13: Test the Layout Before You Buy
Before purchasing large containers, furniture, or garden structures, test the layout one last time.
Review the sketch and check:
- door access
- walking space
- sunlight
- plant locations
- watering access
- drainage
- privacy
- the view from inside
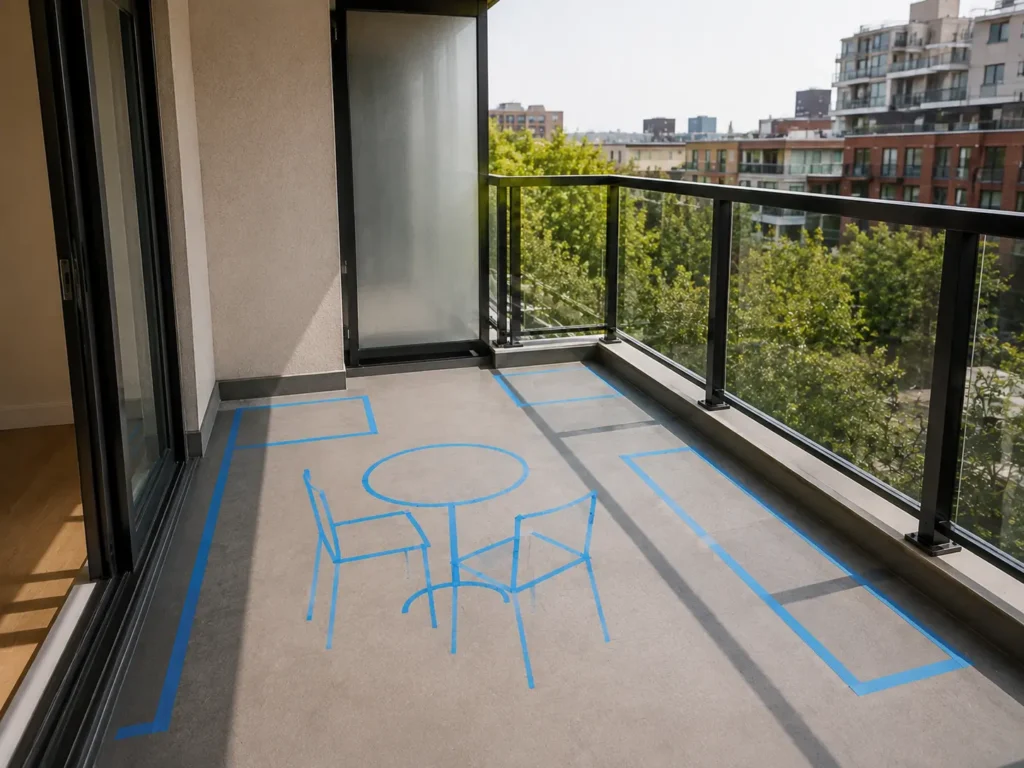
If you are unsure how much room something will occupy, mark its approximate footprint on the balcony floor.
Painter’s tape, flattened cardboard, or boxes of a similar size can help you see what a chair, planter, or stand will actually do to the available space.
Then walk around.
Can you enter comfortably?
Can you reach the future plant locations?
Does the seating still work?
Does the balcony already feel cramped before the smaller containers are added?
It is much easier to move a line on a sketch than to figure out where to put an oversized planter after you have brought it home.
Common Balcony Garden Design Mistakes
A few problems appear repeatedly when small balconies are designed without enough planning.
Buying Plants Before Planning the Layout
A collection of attractive plants does not automatically create a workable balcony garden.
Know what space and growing conditions are available before deciding what belongs there.
Filling Every Empty Spot
An unused corner does not automatically need another planter.
Leave enough room to move, maintain the garden, and let the design breathe.
Ignoring Mature Plant Size
The size of a young nursery plant is not necessarily its mature size.
Consider the expected height and spread so one plant does not eventually consume space intended for several others.
Letting Furniture Take Over
Seating can make a balcony more enjoyable, but oversized furniture can quickly reduce the growing area and make movement difficult.
Choose furniture according to your priorities and available footprint.
Using Too Many Unrelated Containers
Lots of different pots can make a small balcony feel visually scattered.
Grouping containers and repeating a few materials or shapes can create a more cohesive look.
Blocking Access
If you have to climb over pots or move furniture every time you water, the layout needs work.
Ease of access should be designed in, not figured out afterward.
Forgetting About Water and Drainage
Think about how you will reach containers and where excess water will go before settling on their locations.
A convenient-looking corner may not be practical once regular watering begins.
Considering Only the Outdoor View
Remember that the balcony is also part of the view from your apartment.
Check the design from indoors before you finish arranging it.
Balcony Garden Design Checklist
Before buying the major pieces for your balcony garden, check your plan one more time.
- I measured the balcony.
- I marked the door and permanent features.
- I identified sunny and shaded areas.
- I noted the most exposed parts of the balcony.
- I know how I want to use the space.
- I left enough room for movement and access.
- I kept some useful open space.
- I placed the largest elements first.
- I considered how vertical structures affect light and access.
- I considered the mature size of my plants.
- I can reach the containers for routine care.
- I thought about where drainage water will go.
- I planned privacy without automatically blocking the entire balcony.
- I checked the main view from inside the apartment.
- I reviewed relevant lease or building requirements.
Once the layout works, you can move from planning to inspiration. Our balcony garden ideas guide has 25 different ways to use the space you have planned.
Frequently Asked Questions About Balcony Garden Design
How do I design a garden on a very small balcony?
Start by deciding what the balcony absolutely needs to do.
Preserve enough room for access, place the largest necessary elements first, and then use the remaining floor and vertical space for plants.
On a very small balcony, a few well-placed containers may work better than trying to fit plants into every available opening.
How should I arrange plants on a balcony?
Begin with the growing conditions in each part of the balcony, then consider the mature size and growth habit of each plant.
Place containers where plants can receive suitable light while remaining easy to reach. Intentional grouping can also make a collection of containers look more organized.
Is it better to use small pots or large containers?
Neither is always better.
Small pots offer flexibility and can fit into tight spaces, but a large number of them can increase maintenance and visual clutter.
Larger containers can provide more root space and stronger visual impact, but they use more floor area and can become very heavy after they are filled and watered.
The right choice depends on the plant, the available space, weight considerations, and the amount of maintenance you want to handle.
How can I make a balcony more private without blocking too much light?
Start by identifying the exact sightline you want to screen.
A strategically positioned plant grouping or appropriate vertical feature may provide enough privacy without closing off the entire balcony. Consider how the screening will affect both sunlight and the view before making it permanent.
Should I plan my balcony before buying plants?
Yes. Planning first allows you to account for usable space, growing conditions, mature plant size, furniture, access, and maintenance.
Once those limits are clear, choosing plants and containers that actually fit the balcony becomes much easier.
Final Thoughts on Balcony Garden Design
A good balcony garden is not measured by how many plants you can fit into it.
The strongest designs balance the needs of the plants with the needs of the person using the space. You should be able to walk through the balcony, reach the containers, care for the garden, and still enjoy looking at it.
Start with the space. Measure it, decide what matters most, protect the room you need for movement, and place the largest elements before filling in the details.
When the layout works first, the garden has a much better chance of working too.